This post contains affiliate links. If you buy through them, we may earn a small commission at no extra cost to you. Learn more.
Kitchen cabinet organization ideas give every pot, plate and jar a clear home so cooking feels easier. Most cabinets are deep and tall, so items get lost at the back or stack into towers you don't want to touch. A few simple tools and a plan fix that without a renovation.
This guide gives you 13 ideas, a step-by-step method and the common mistakes to avoid. It works for small and large kitchens and most ideas suit renters too.
The method in four steps 1. Empty the cabinets and wipe the shelves. 2. Remove duplicates, broken items and things you never use. 3. Group by task: cooking, baking, serving, storing and cleaning. 4. Put the most-used items at easy-to-reach heights, and use organizers to fill the gaps.
1. Empty and edit first
Take everything out and look at what you own. You will often find duplicates, mismatched lids and tools you forgot about. Donate what you don't use. Fewer items make every other idea work better.
2. Store by zone
Keep pots and pans near the stove, mixing bowls and baking items near the prep area and plates and glasses near the dishwasher or sink. When items live where you use them, you save steps every day.
3. Use shelf risers
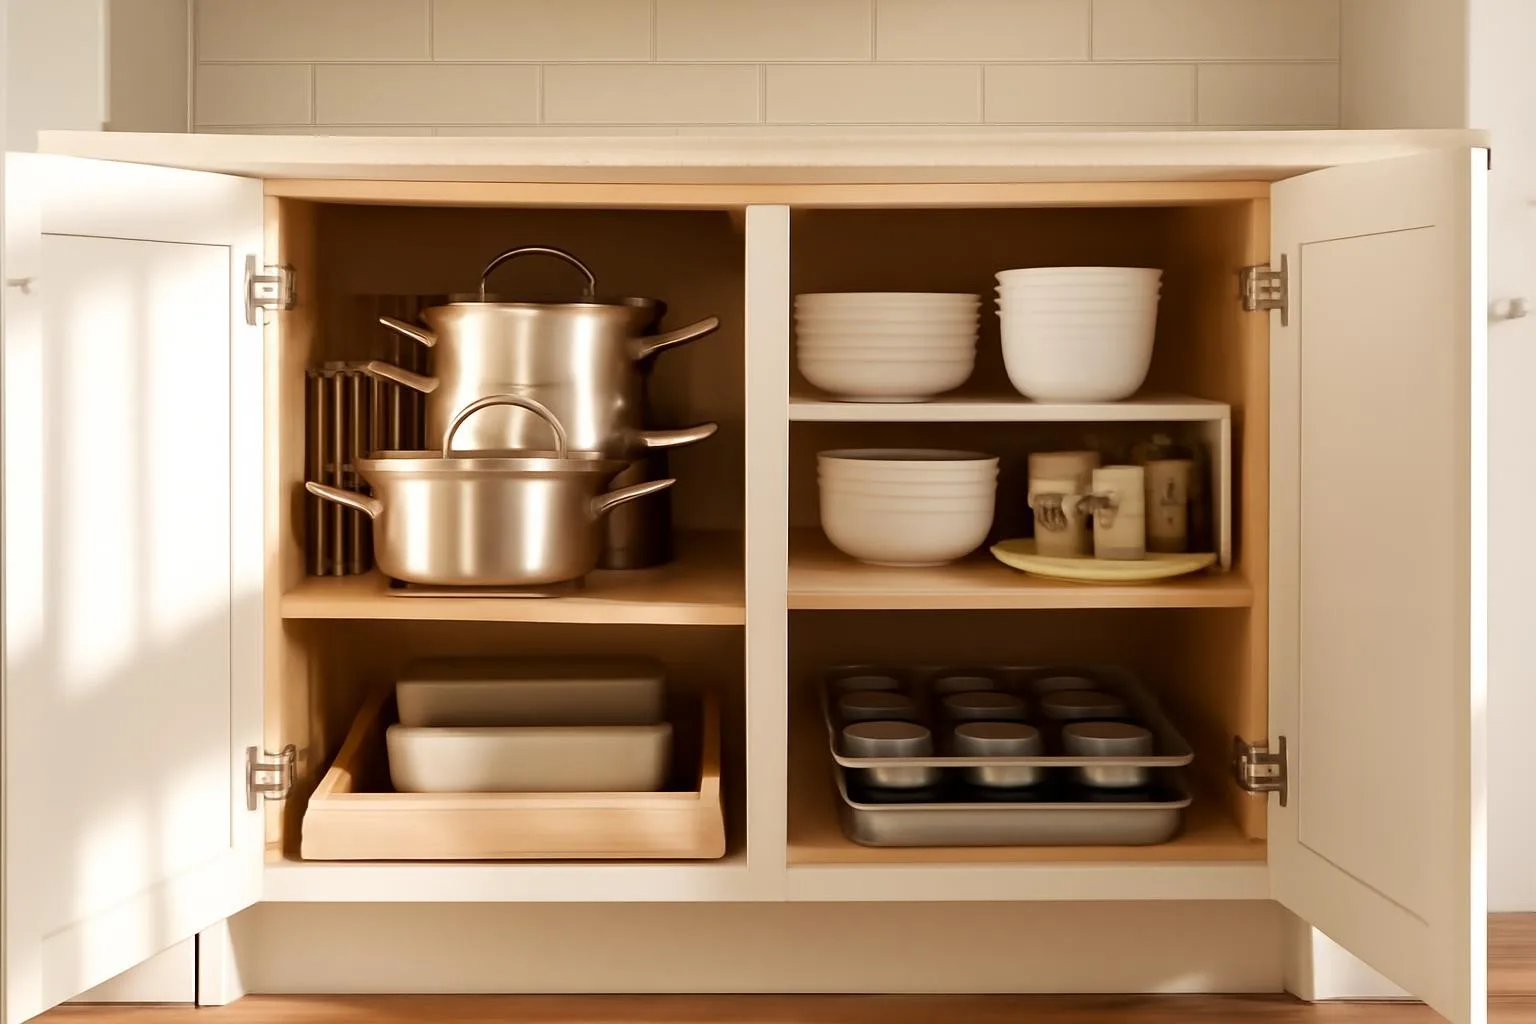
Risers create a second level in a deep cabinet so you can store plates, bowls or mugs without stacking them too high. Choose a size that fits the shelf width.
4. Add a lid rack
Lids are the hardest item to keep tidy. A small rack on the inside of the door or on a shelf holds them upright and keeps them together. Store the lids near the pots they match.
5. Stack pots with care
Nest pots and pans by size, and place a thin cloth or felt between non-stick pieces to protect the surface. Keep the heavy ones at the bottom and at waist height.
6. Use pull-out shelves or drawers
Pull-out drawers for lower cabinets let you reach the back without crouching. Some can be installed without tools, using sliding wire baskets or sliding bins. Check the weight limit.
7. Use a turntable for spices and jars
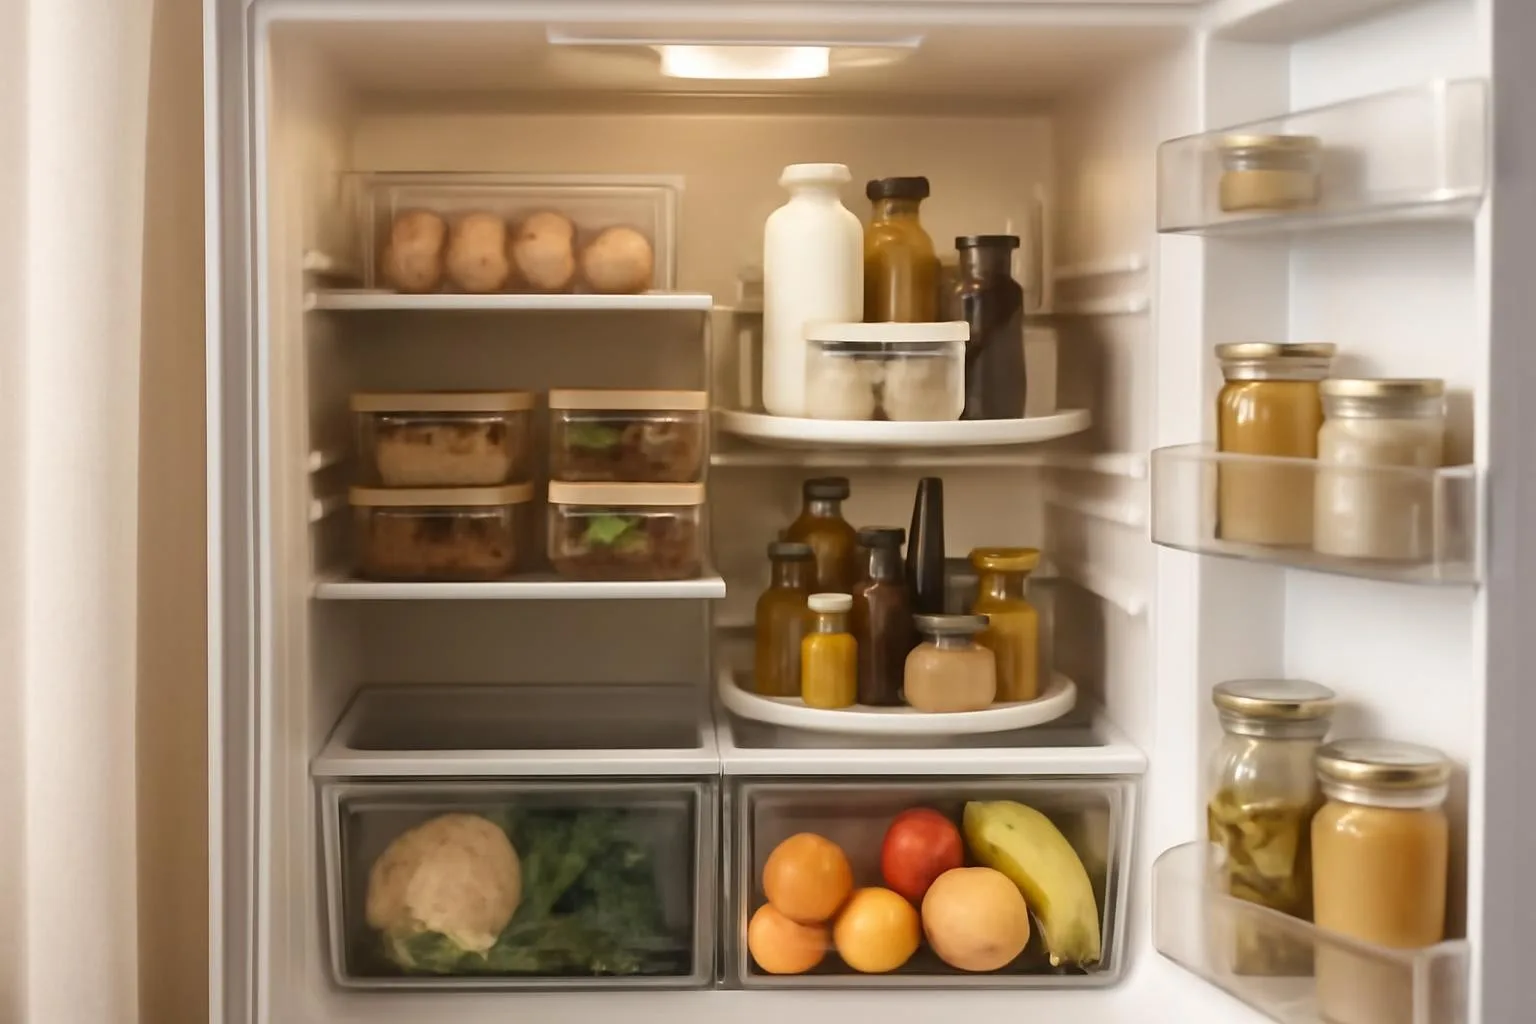
A lazy susan lets you spin to reach what you need, and it stops jars from hiding at the back. Use it for spices, oils, sauces and baking items.
8. Use door-mounted racks
Narrow racks on the inside of a cabinet door hold foil, wraps, cutting boards and measuring cups. Check that the door closes fully and don't overload it.
9. Add vertical dividers for trays and boards
Dividers keep baking sheets, cutting boards and cooling racks upright, so you can pull out one without moving the rest. A simple tension-style divider works well.
10. Use baskets for small items
Baskets or bins hold packets, bags and loose items together. Label them so everyone in the home can find things and put them back.
11. Use the space under the sink with care
Use a two-tier organizer around the pipes, and a small tray for cleaning supplies. Keep cleaning products out of reach of children, or use a child-safety latch. Check for leaks regularly.
12. Keep daily items at hand height
Place the items you use every day at eye level and waist height. Keep rarely used items, such as a roasting pan or party platters, on high or low shelves.
13. Line the shelves
Shelf liners protect surfaces, stop things from sliding and make cleaning easier. Choose a non-adhesive type if you rent.
A simple weekend plan
- Saturday morning: Empty one or two cabinets and edit what you own.
- Saturday afternoon: Clean the shelves, sort by zone and measure the space you need to fill.
- Sunday: Add risers, racks and dividers, and put everything back by zone.
Budget tips
Reuse baskets, boxes and trays you already own, and use a spring tension rod as a divider. Add one or two organizers, such as a lid rack and a shelf riser, and see what else you really need. Measure before you buy to avoid returns.
Keeping cabinets organized
Return items to their zone after use, put new items in their place and check cabinets every few months. When a cabinet starts to feel crowded again, edit it instead of adding more storage. A short routine keeps the system working.
How to organize cabinets by type
- Dishes and glasses: keep them near the dishwasher or sink, with plates on a riser and glasses on a shelf at hand height.
- Pots and pans: near the stove, with lids on a rack, and heavy items at waist height or below.
- Baking supplies: together on one shelf with trays upright in a divider.
- Food storage containers: keep lids and bases together in a basket or one tidy stack. Toss any that have lost their match.
- Small appliances: in a lower cabinet or on a cart, with the cord wrapped and tied.
- Cleaning supplies: under the sink in a tray, away from children and food.
Cabinet safety
Keep heavy items low so they don't fall when you reach for them. Don't overload shelves or racks beyond what they are rated for. Store knives in a block, sheath or drawer insert instead of loose in a drawer. If you have small children, use child-safety latches on cabinets with cleaning products and sharp tools.
Quick wins in thirty minutes
If you don't have a whole weekend, try these: take out and donate duplicates, add a lid rack, put the plates on a riser and place a turntable in one corner cabinet. Even one small change can make a cabinet easier to use. Do the rest when you have time.
Quick cabinet checklist
- Duplicates and broken items are gone.
- Items are grouped by task and kept near where you use them.
- Heavy items are low, and light items are higher.
- Risers, racks or dividers are used in deep or tall spaces.
- Cleaning supplies are safely stored.
With these in place, a cabinet takes seconds to use instead of minutes.
Common mistakes to avoid
- Buying organizers before decluttering. Edit first.
- Heavy items on high shelves. Keep heavy items low.
- Overloading racks and doors. Check weight limits.
- No zones. Items drift and clutter builds.
- Ignoring depth. Choose organizers for deep cabinets so nothing gets lost.
Final thoughts
Well-organized cabinets save time and reduce stress when you cook. Start with one cabinet, such as the pots and pans, and use what you learn for the next. You don't have to do the whole kitchen in one weekend.
Kitchen cabinet organization FAQ
Empty them, remove what you don't use, group by task and use risers, racks and dividers to make the most of the space.
Nest pots by size, use a lid rack and keep lids near their pots.
Pull-out shelves or sliding baskets let you reach the back, and a turntable works well for jars.
Yes. Use risers, baskets, tension dividers and over-the-door racks.
A quick tidy each month and a full edit every few months works for most households.
Start with the cabinet you use most, usually pots and pans or dishes. A quick win there shows you how much easier cooking can be.
Shop the look
LAMU Clear Lazy Susan Turntable, 4 Pack
Spin to reach spices and jars
Check price on AmazonVaeFae Bamboo Drawer Dividers, 6 Pack
Adjustable dividers for any drawer
Check price on Amazon